Showing posts with label 2024. Show all posts

Friday, December 27, 2024

Happy 70th Birthday Card

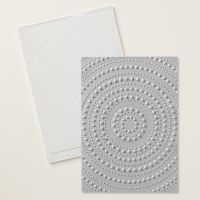
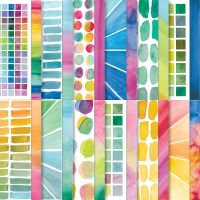
This fun card was made using the Full of Life Designer Series Paper (DSP) along with the Dotted Circle 3D Embossing Folder.  I love how the embossing process makes the dots look like waterdrops.

The card starts with a Thick Basic White cardstock card base, followed by a Coastal Cabana cardstock panel.

The top panel is the embossed Full of Life DSP.

The sentiment was made using the Wanted To Say dies along with the Full of Life DSP and Basic White cardstock. A piece of Adhesive Sheet was adhered to the back of the Full of Life DSP prior to cutting out the sentiment, which made the sentiment so easy to adhere to the background piece.

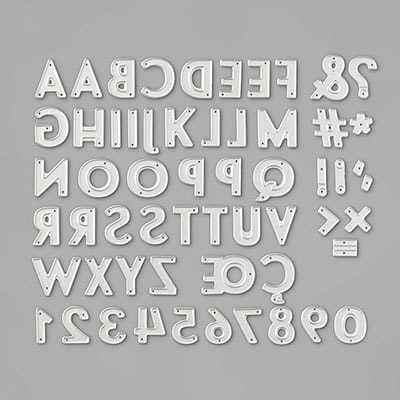
The "70" is from the retired Playful Alphabet dies and was also cut out using the Full of Life DSP with Adhesive Sheet adhered to the back of the DSP prior to cutting out the numbers. The Basic White cardstock background behind the numbers was fussy cut.

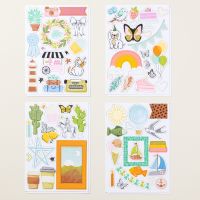
The balloons are from the Something for Everything Mix and Match Ephemera Pack.

I hope you enjoyed my card for today!

If you are looking for a Stampin' Up! demonstrator, I would love it if you chose me as your demonstrator!  When you place an order in my online store you can earn Stampin’ Rewards that can be used for free and discounted products, or used toward your Starter Kit, if you are interested in becoming a Stampin' Up! demonstrator.

Product List

Wednesday, December 25, 2024

Monday, December 23, 2024

Adventurous Sky Birthday Card

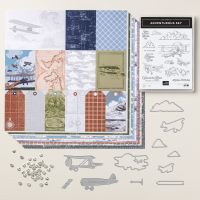
This card was made using the Take to the Sky Suite.

The card starts with a Night of Navy cardstock card base, followed by a panel from the Take to the Sky Designer Series Paper (DSP).

The cloudy sky top panel is also from the Take to the Sky DSP.

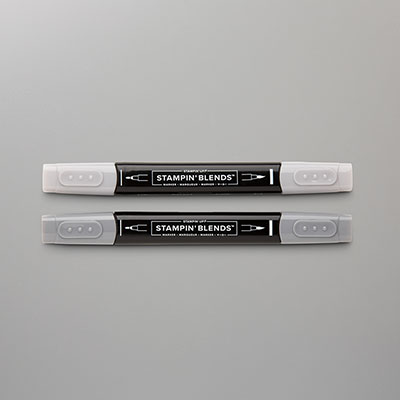
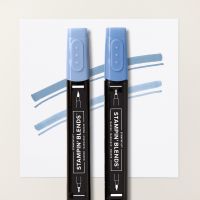
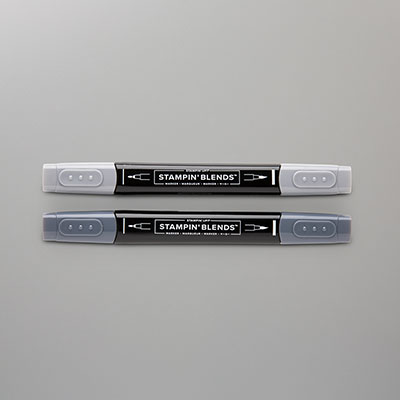
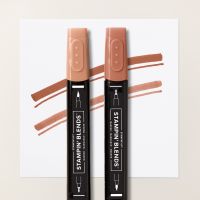
The three planes are from the Adventurous Sky stamp set and have been stamped in Tuxedo Black Memento ink onto Basic White cardstock.  Once stamped, the planes were colored using Smoky Slate, Boho Blue, Copper Clay and Light Basic Black Stampin' Blends and then cut out using the coordinating Adventurous Sky dies.

The smallest and the largest planes were adhered to the card front using Multipurpose Liquid Glue.  The middle plane was adhered using Mini Dimensionals.
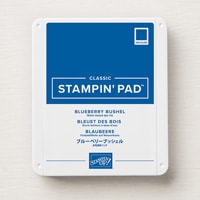
The banner was made using the Adventurous Sky dies.  The sentiment is from the Adventurous Sky stamp set and has been stamped in Blueberry Bushel ink. 

Using a pencil, the two ends of the banner were slightly curled, as you can see from the picture above, and then adhered to the card front only where the banner touched the card front.
The inside of the card has a Boho Blue cardstock panel adhered to the card base followed by a Basic White cardstock panel on top.

The sentiment has been stamped in Boho Blue ink using one of the Happiest Day stamps.

The plane in the lower right hand corner has been stamped in Tuxedo Black Memento ink and is from the Adventurous Sky stamp set.

The clouds are also from the Adventurous Sky stamp set and have been stamped in Boho Blue ink.

I hope you enjoyed my card for today!

If you are looking for a Stampin' Up! demonstrator, I would love it if you chose me as your demonstrator!  When you place an order in my online store you can earn Stampin’ Rewards that can be used for free and discounted products, or used toward your Starter Kit, if you are interested in becoming a Stampin' Up! demonstrator.
 

Product List

Friday, December 13, 2024

Filled with Joy - November Paper Pumpkin Alternatives - Part 2

Welcome to part 2 of a two part series featuring alternatives for the November 2024 - Filled with Joy Paper Pumpkin.
This first card starts with a Coastal Cabana cardstock card base, followed by a Shaded Spruce cardstock panel and then topped with a panel that was one of the leftover panels from the October 2024 Nests of Christmas Paper Pumpkin kit.

The ornaments are pre-cut die-cuts from the Filled with Joy kit.

The sentiment is from the Joyful Sayings Mix and Match Ephemera Pack.

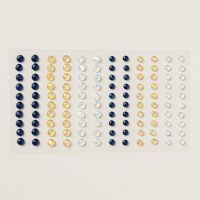
Drusy Adhesive-Backed Embellishments were added for accent.

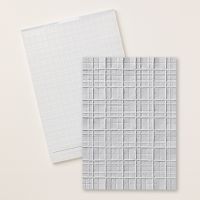
This second card has a Very Vanilla cardstock card base, followed by a Poppy Parade panel that was embossed using the Forever Plaid 3D Embossing Folder.

The ornaments are from the Filled with Joy kit and have been tied with a Gold Thread bow.

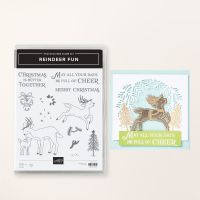
The sentiment has been stamped in Poppy Parade ink onto Very Vanilla cardstock and is from the Reindeer Fun stamp set.

Drusy Adhesive-Backed Embellishments were added for accent. 

Card #3 has a Night of Navy cardstock card base, followed by a Shaded Spruce cardstock panel.

The top panel is one of the leftover panels from the Nests of Christmas kit.

The ornaments are from the Filled with Joy kit and have been tied with a Gold Thread bow.

The last card starts with a Night of Navy cardstock card base.

 The next panel is one of the leftovers from the October 2024 Nests of Christmas kit.  This panel was cut slightly bigger than the top panel so that a little bit of the panel showed along the edges of the card front.

 The top panel is also one of the leftovers from the Nests of Christmas Paper Pumpkin kit.

The ornaments are pre-cut die-cut from the A Little Bit Festive Mix and Match Specialty Designer Series Paper.

The sentiment is from the Joyful Sayings Mix and Match Ephemera Pack.

Drusy Adhesive-Backed Embellishments were added for accent.

I hope you enjoyed my cards for today.

If you are not a Paper Pumpkin subscriber, you can CLICK HERE to find out more information or CLICK HERE to sign up by January 10th to get the next kit.


If you are looking for a Stampin' Up! demonstrator, I would love it if you chose me as your demonstrator!  When you place an order in my online store you can earn Stampin’ Rewards that can be used for free and discounted products, or used toward your Starter Kit, if you are interested in becoming a Stampin' Up! demonstrator.
Product List